
’Good gracious! I have had such a time of it! I never saw Lucy in such a rage in my life. She vowed at first she would never trim me up a new bonnet, nor do any thing else for me again, so long as she lived; but now she is quite come to, and we are as good friends as ever. Look, she made me this bow to my hat, and put in the feather last night. There now, you are going to laugh at me too. But why should not I wear pink ribbons? I do not care if it is the Doctor’s favourite colour. I am sure, for my part, I should never have known he did like it better than any other colour, if he had not happened to say so. My cousins have been so plaguing me!– I declare sometimes I do not know which way to look before them.’
She had wandered away to a subject on which Elinor had nothing to say, and therefore soon judged it expedient to find her way back again to the first.” Sense and Sensibility, p. 272 Oxford U. 3rd Edition
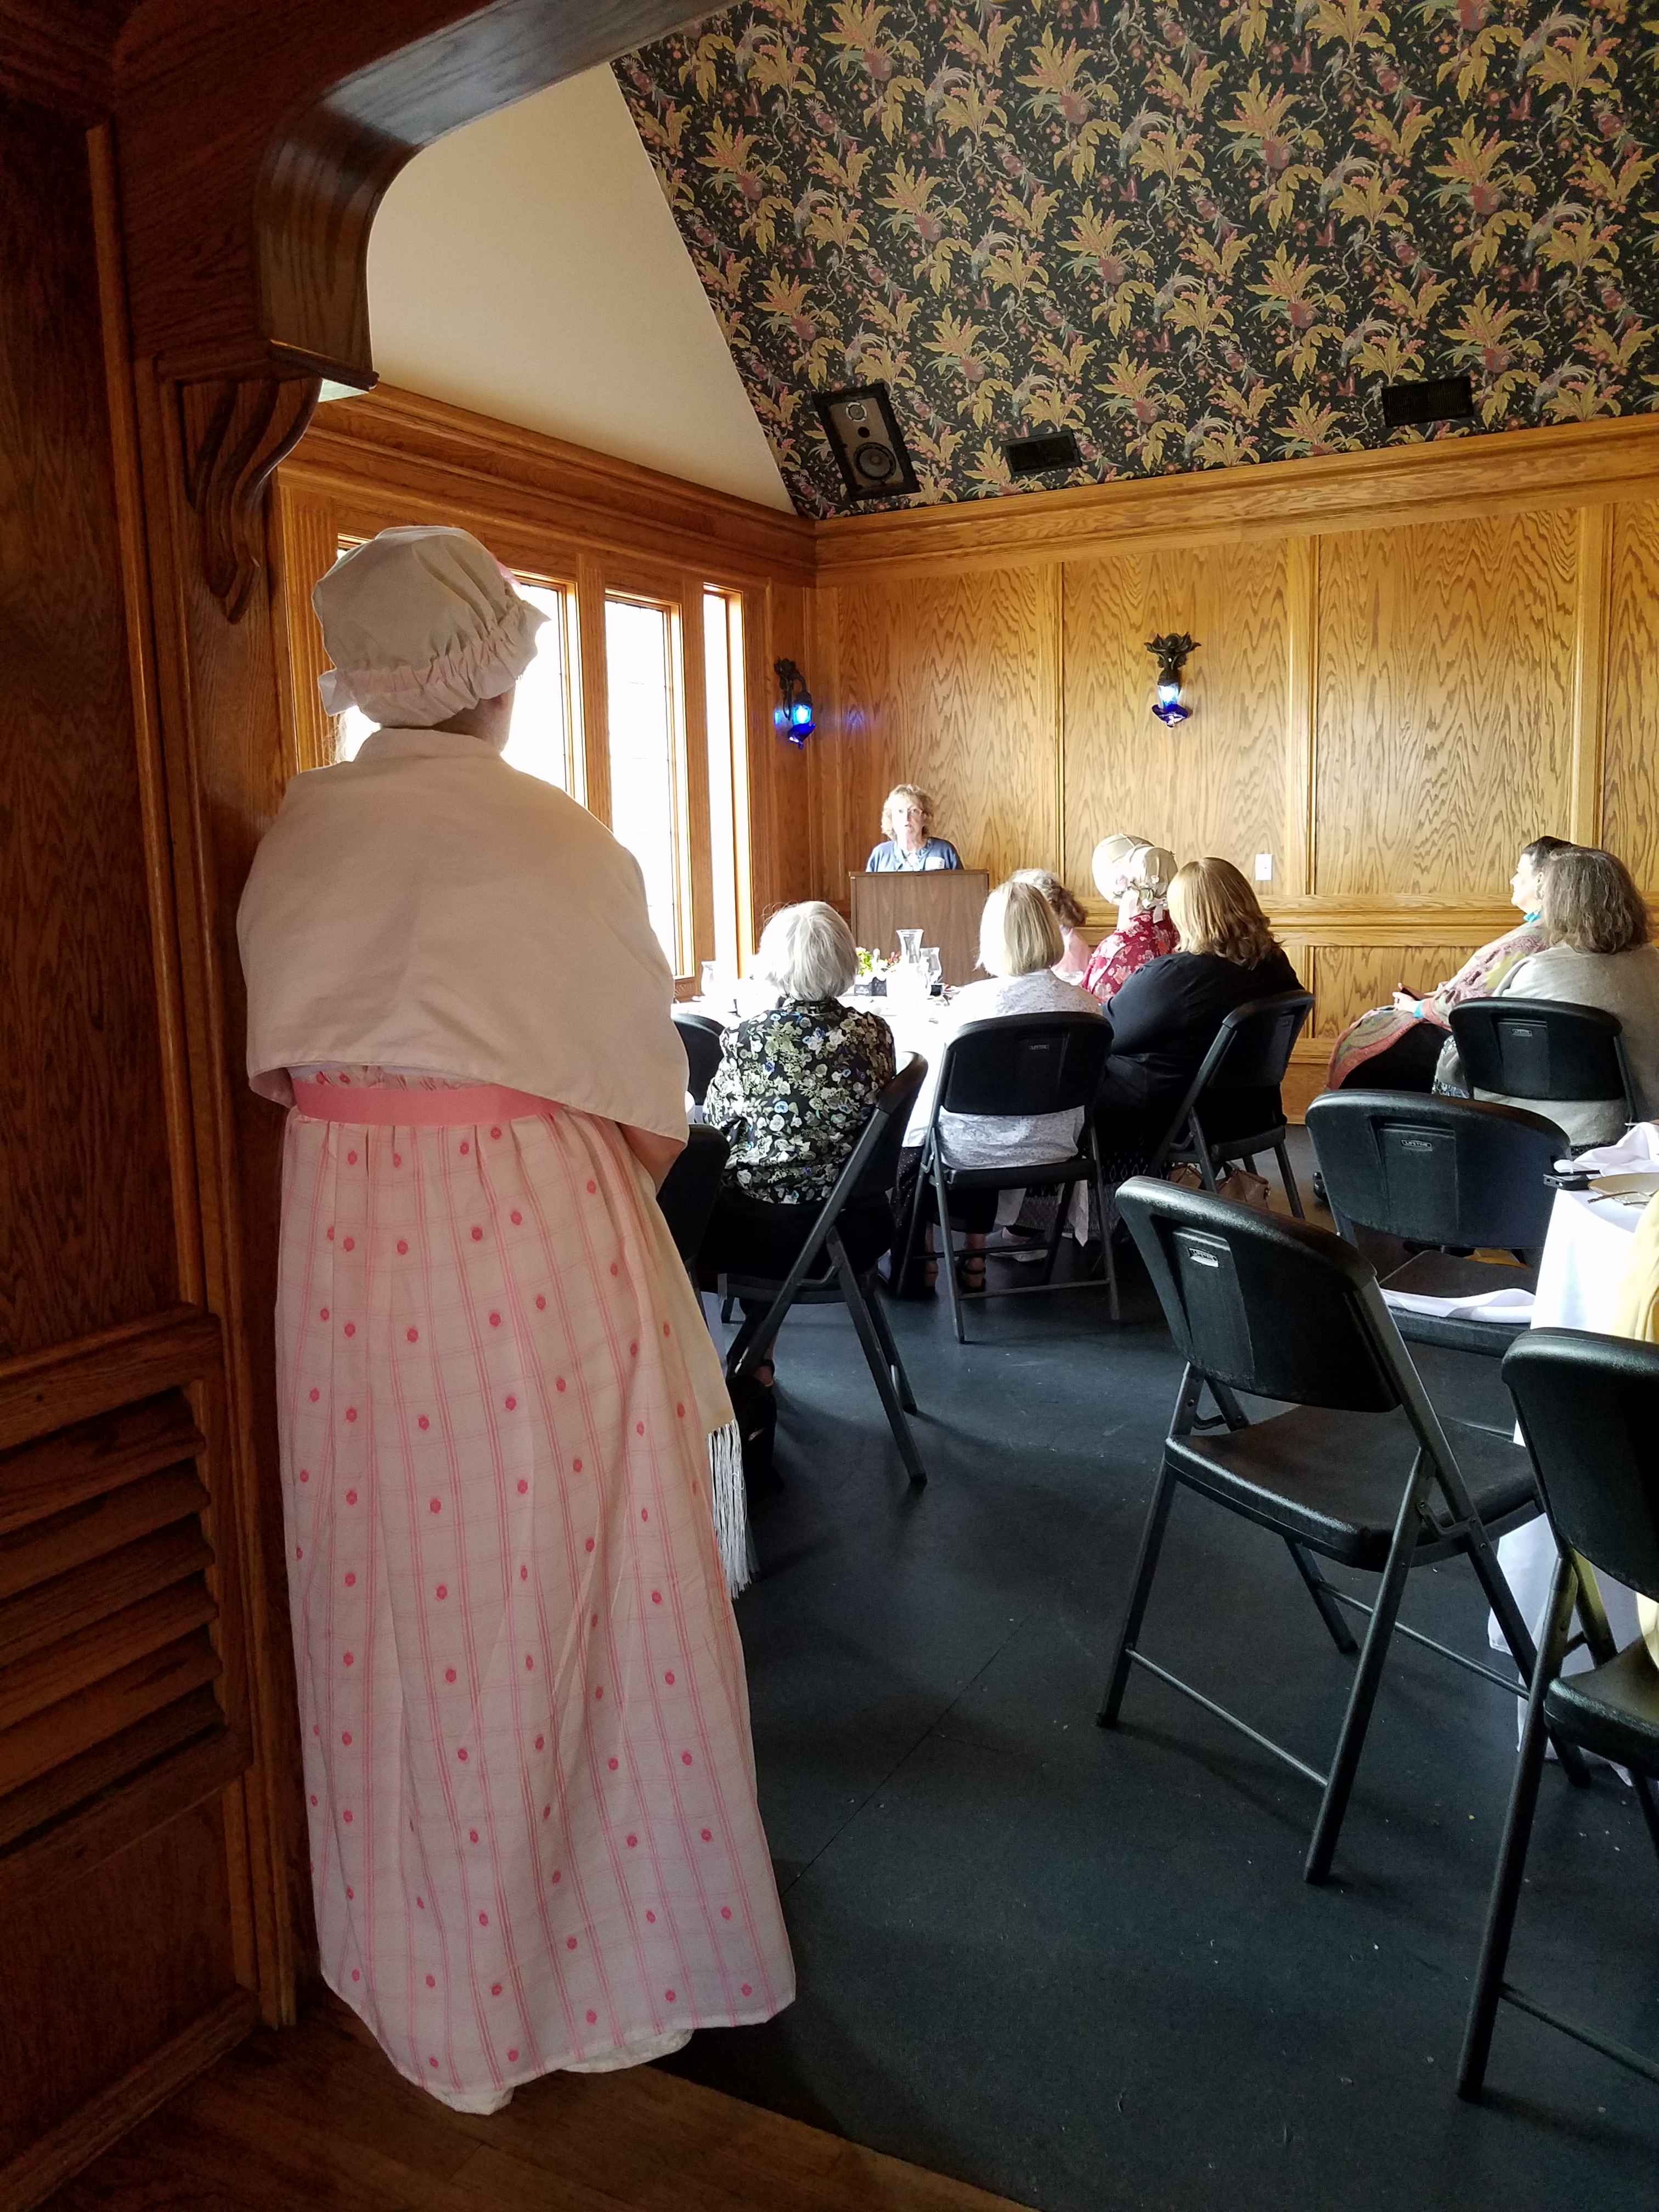
Poor Miss Steele is vulgar, unmarried at 30, and left broke by Lucy. She only wants someone to kid with her about the Doctor and to have the warmest seat by the fire. She does not get much love in Sense and Sensibility, but it is through her good offices that the truth about Edward and Lucy comes out, so that Edward can be disinherited and Lucy can release him from her grasp. I think we all have a little bit of Miss Steele in us. I, for one, love pink ribbons. This sewing project, which I created for our Spring Tea, was my homage to Miss Steele’s joy in pink ribbons. I used a sewing machine for most of the sewing and I also used a shirt for the top of the over-dress, so this is beginner-level Regency sewing.
Note: the pictures of the sewing in progress were taken by me. The pictures from the Spring tea were taken by Jane Provinsal.
The Over-Dress
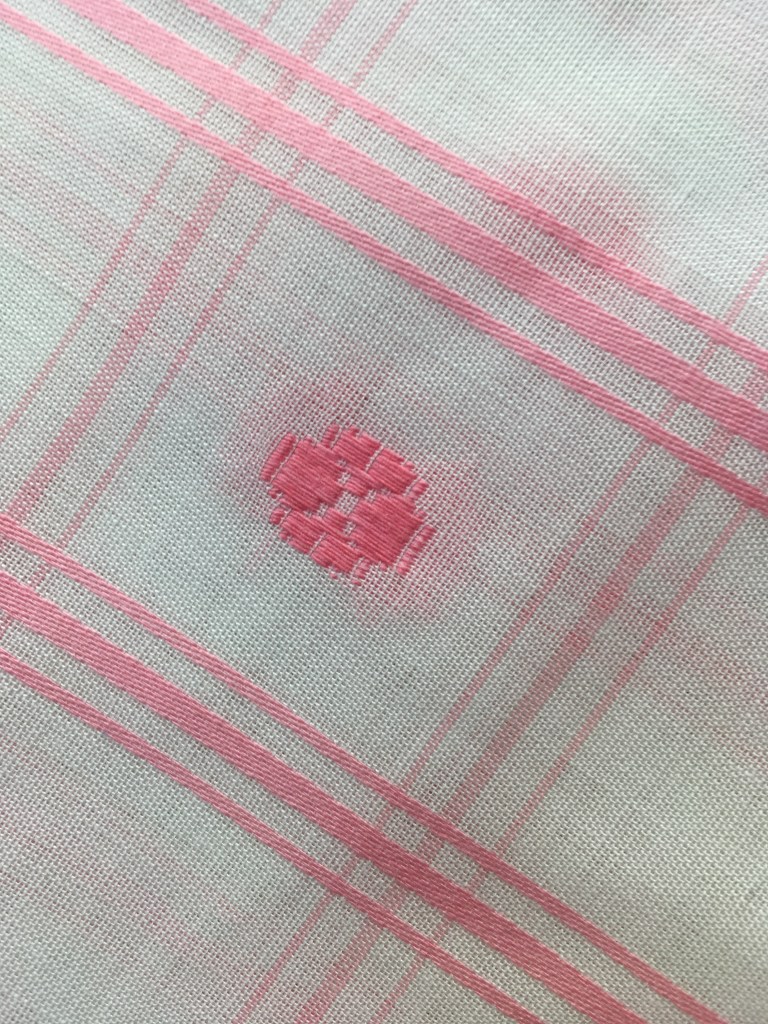
To create the over-dress, I used a short-sleeve white cotton shirt I had with ruffles sewn onto the top in a diagonal pattern. The bottom of the dress was made out of some white shirting fabric that I found at a second-hand store with a pink window-pane pattern with a pink medallion in some of the squares. It was rather sheer, but had good body. I cut the bottom using my trusty Simplicity #4055 (Sense and Sensibility) pattern, putting the front panel on the selvedges instead of the fold to create a front opening. I cut the length a little shorter than full-length, but longer than the overlay pattern that comes with View A of the Simplicity pattern.
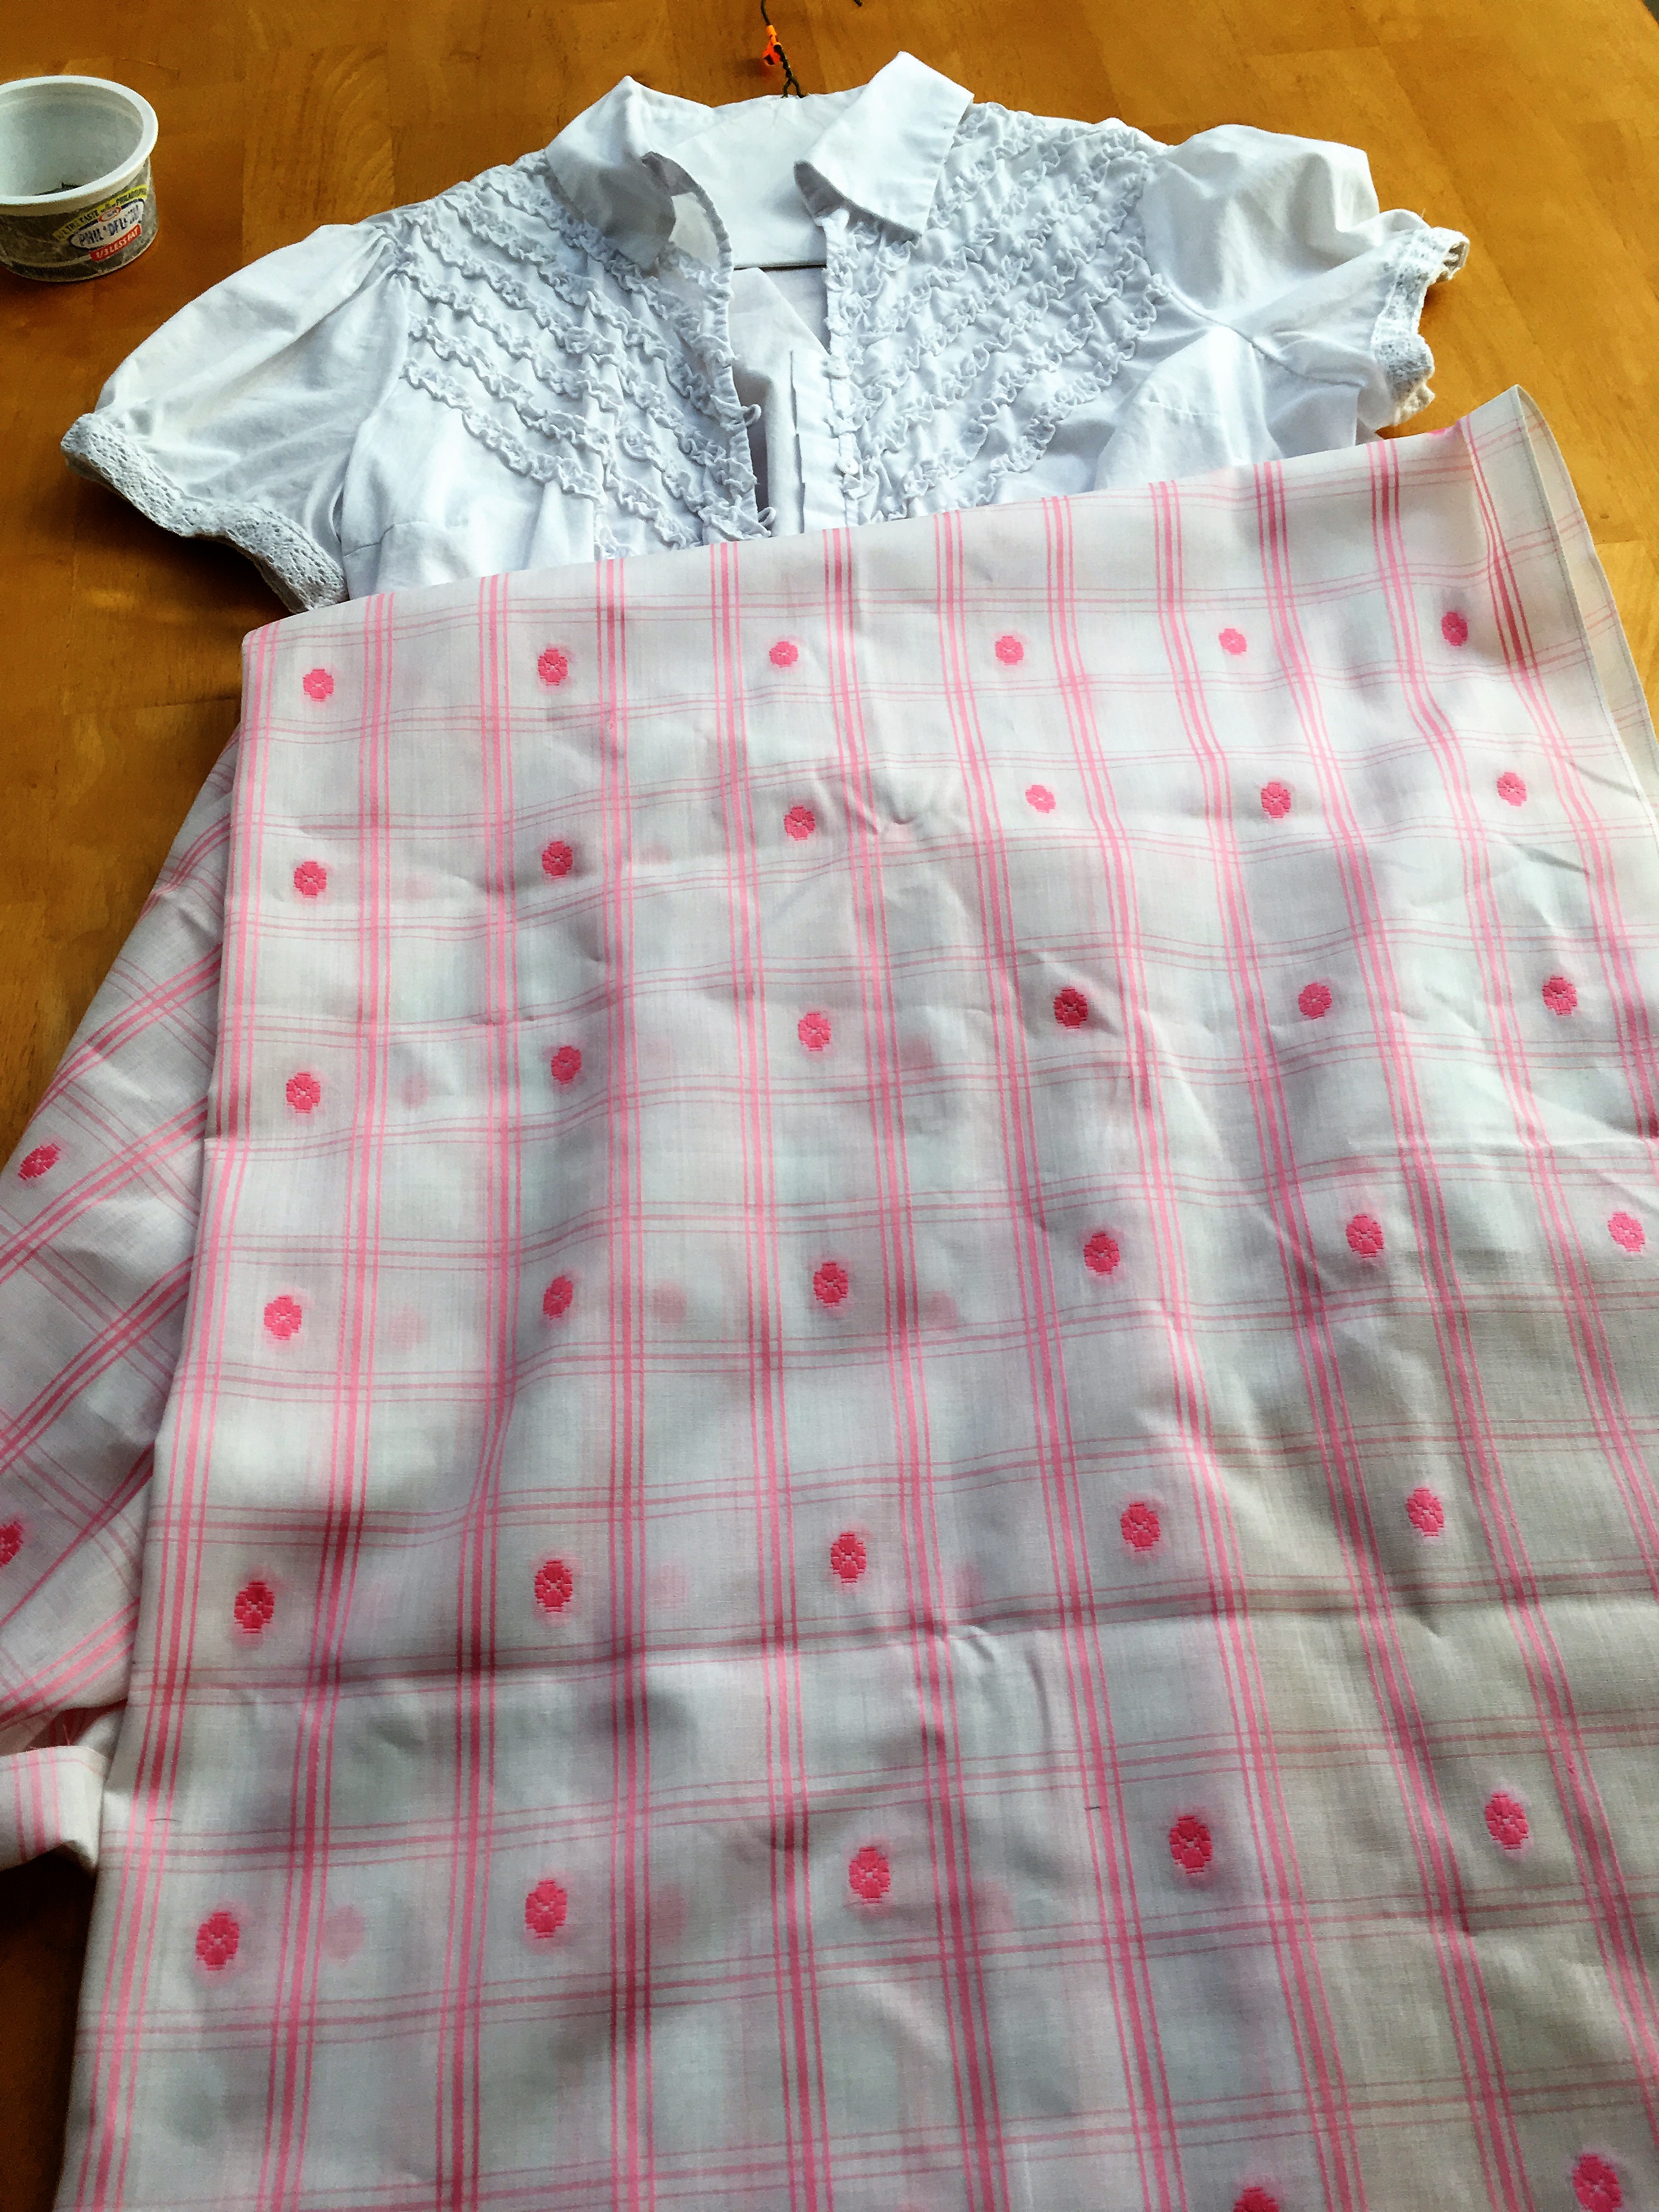

For my under-dress, I have a sleeveless full-length lined silk petticoat with a drawstring neckline that I had already made for a previous outfit. Both the top and the bottom of the over-dress had to be gathered some—the top just a little bit and the bottom quite a bit to create the gathered back. I sewed the bottom sides together and pressed the seams open, then sewed a small hem along the front opening and the bottom (using the sewing machine). I basted the back as instructed in the pattern to create gathers and then pinned the right side of the shirt to the right side of the bottom of the dress, gathering the shirt slightly below the bust. I basted the shirt and bottom together before cutting off the lower part of the shirt to make sure that the fit was correct.
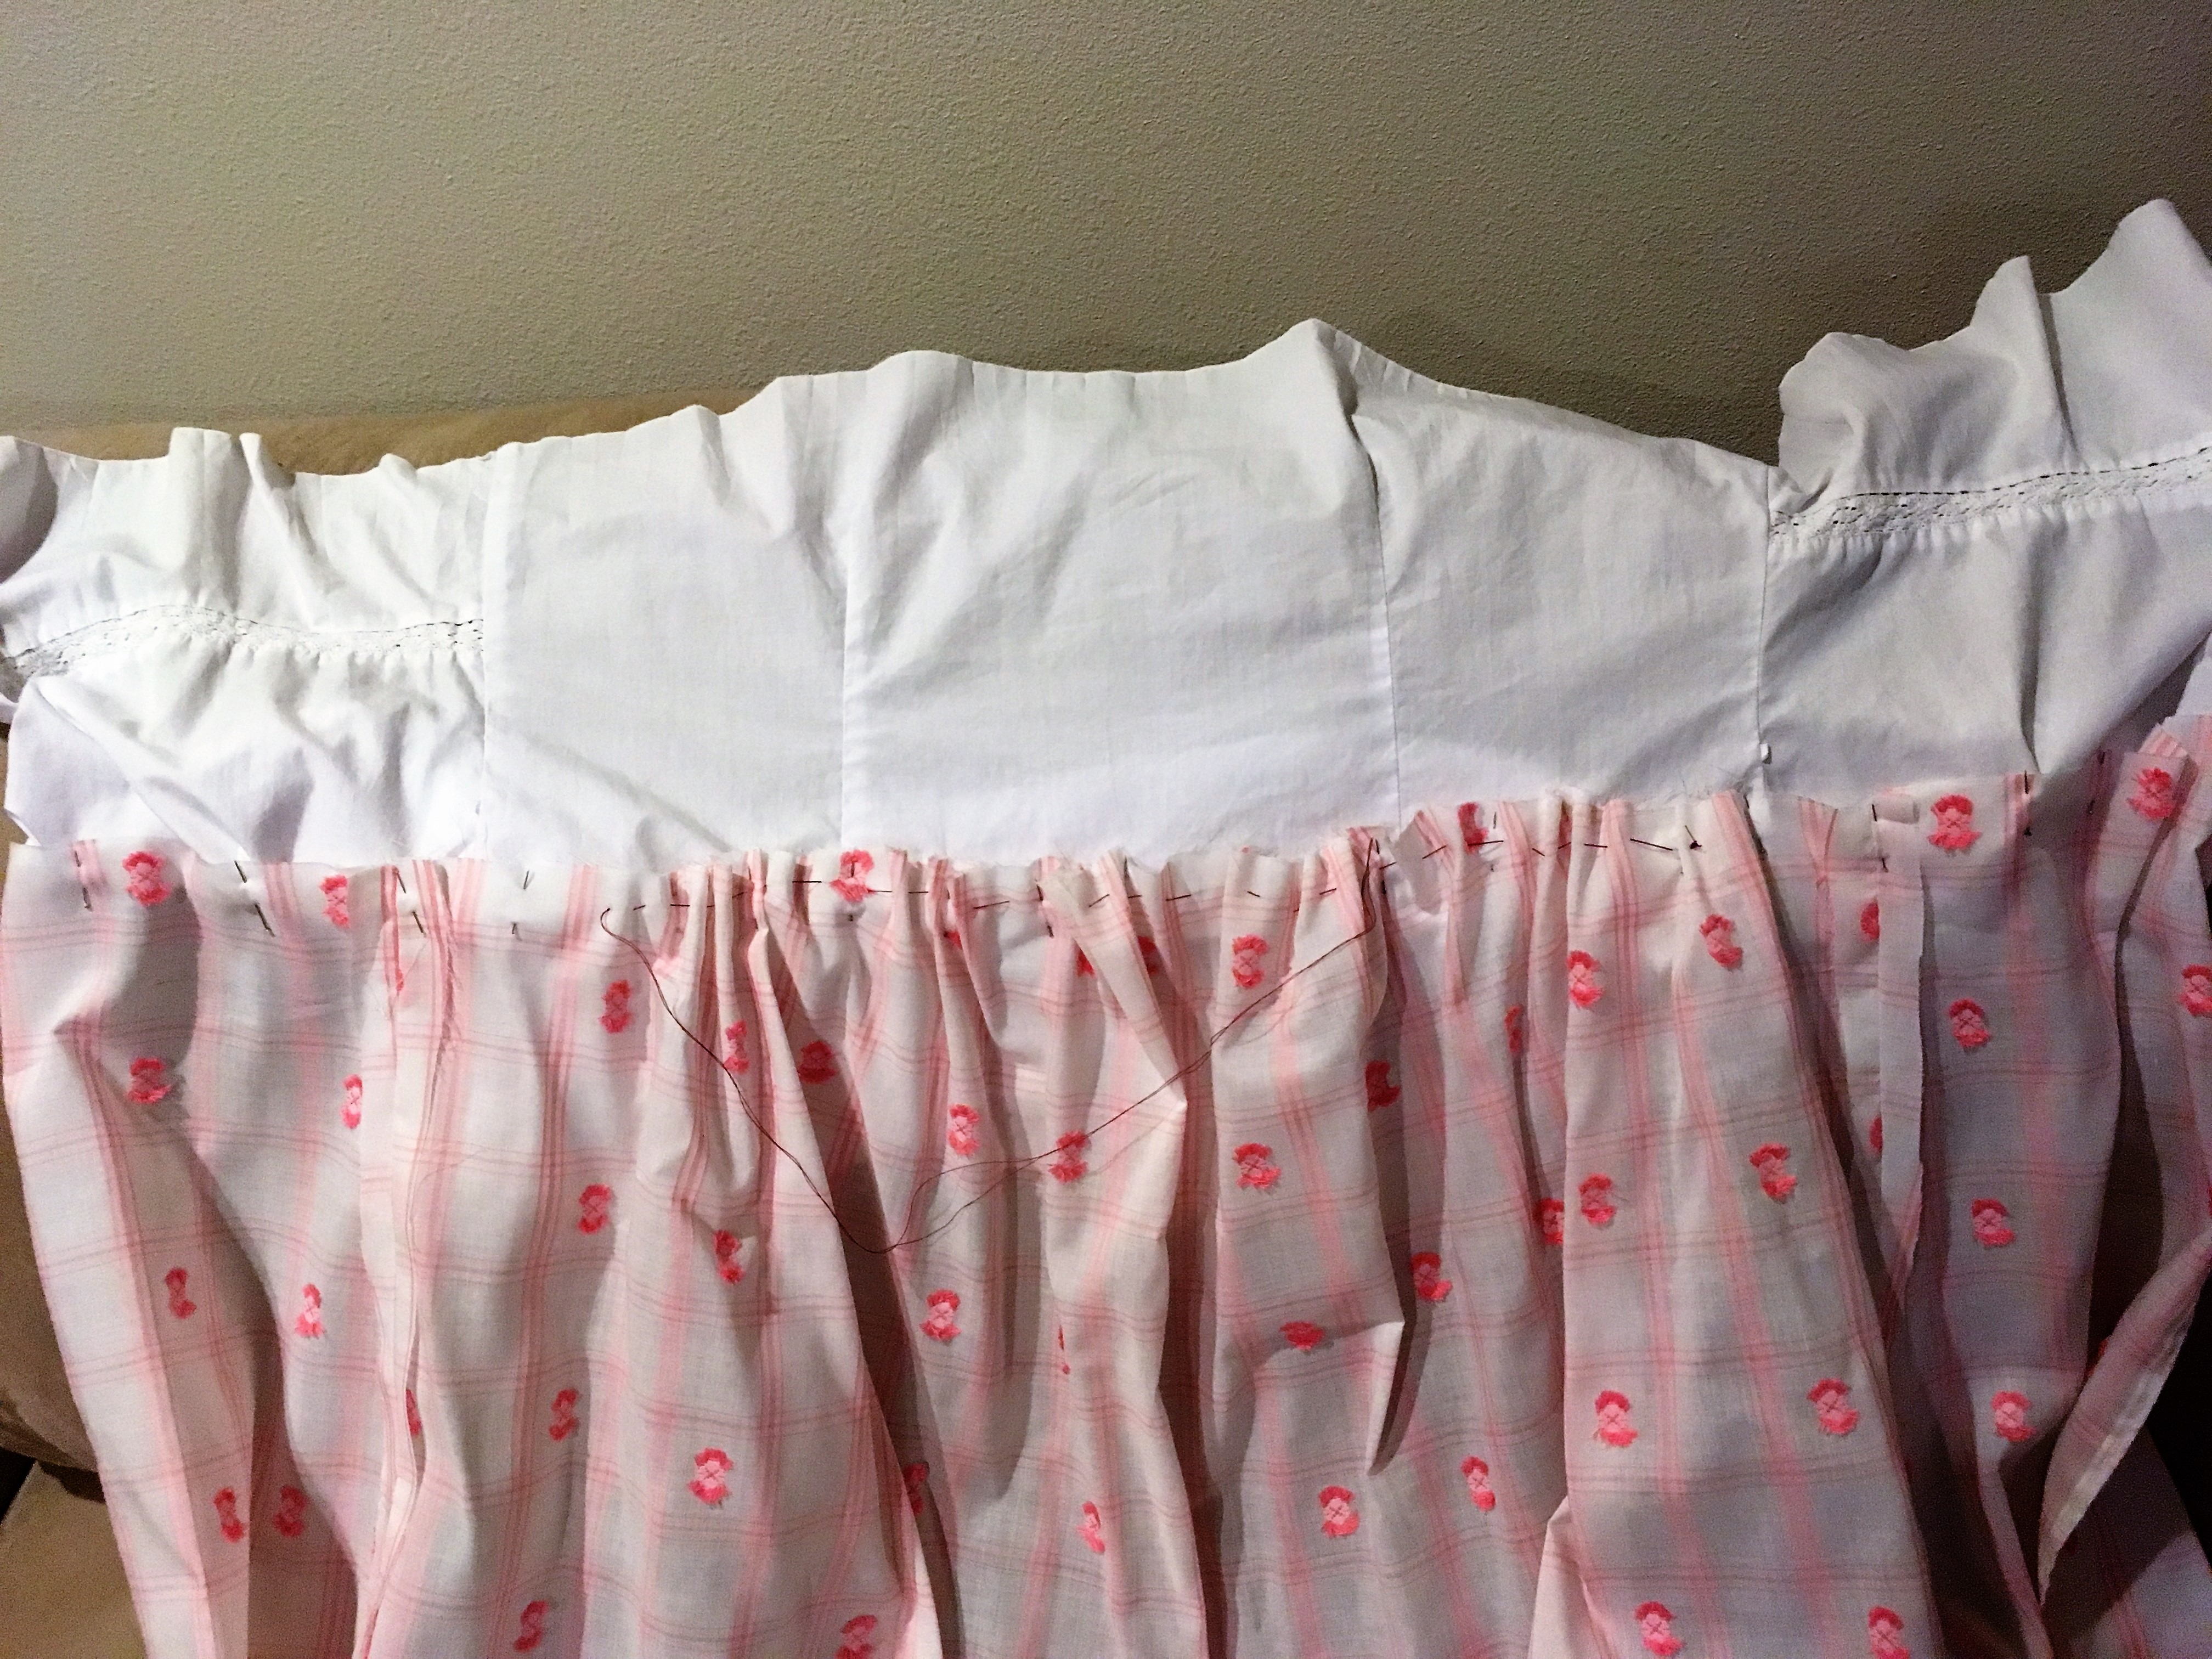
Once I was sure that the size was correct, I trimmed the lower part of the shirt and then used the sewing machine to sew the basted high waist. To give the high waist seam some reinforcement, I covered over the raw edges with the seam allowance of the cotton shirt (which I left a little longer) and then sewed that down to the top through all layers about ¼” from the waist seam. I made belt loops out of the pink ribbon I was using for the belt (hand sewn after folding in thirds) and then basted and sewed them on the seam of the bottom of the dress and straight up on the shirt. The dress was a little large around the empire waist, but cinched nicely with the ribbon belt (1 ½” grosgrain ribbon). I left the plastic buttons on the top because I was not able to find anything more authentic looking that was small enough for the button loops.

The Drawstring Mob Cap
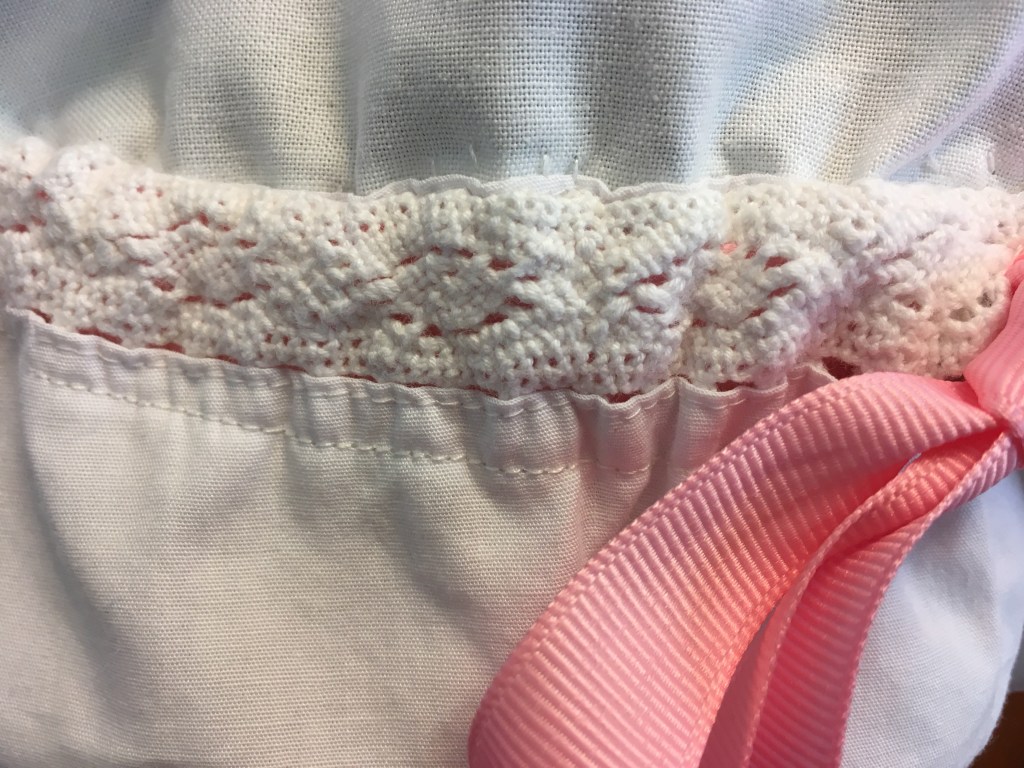
I really liked the lace that was at the bottom of the shirt that I was cutting up, so I thought I might be able to preserve it by incorporating it into a mob cap with a pink ribbon behind it. When I cut the bottom half of the shirt off, I trimmed it close to the lace and sewed the front two sides of the shirt together, creating a circular band. I pinned the right side of the band onto the right side of a round piece of cotton (leftover lining material from the petticoat), leaving about an inch and a quarter around so that I could create the space for the ribbon. After sewing the ruffle and making sure that I was at the very edge of the lace, I flipped it out and then sewed around on the inside of the cap, creating about a 7/8” channel for the 5/8” ribbon. I cut the seam in the center of the lace in the channel so that the ribbon would be at the center of the cap when threaded. Once I made sure the ribbon worked (threading it with a safety pin), I tacked the ruffle into the inside of the cap, over the seam allowance, so that the ruffle was not too big and had a little puffiness. The cap itself was not very large due to making it the size of the ruffle band, but for a first attempt, I think it came out well.

The Shawl
The shawl was created using a purchased Ralph Lauren Home white viscose/cotton bed throw (found on clearance!) that had 8” fringe and measured about 70” by 50”. I cut the throw about 21” from the long side so that it would sew to a 20” by 70” shawl (plus the fringe). I took the fringe off of the cut side where I was going to turn it in (it had a double thickness) and sewed it on the long edge, as close to the edge as I could get it. The hardest part about sewing the shawl was making the side even, since the inside of the fabric was slippery. I was glad I had my shawl the day of the tea because the weather was cool.

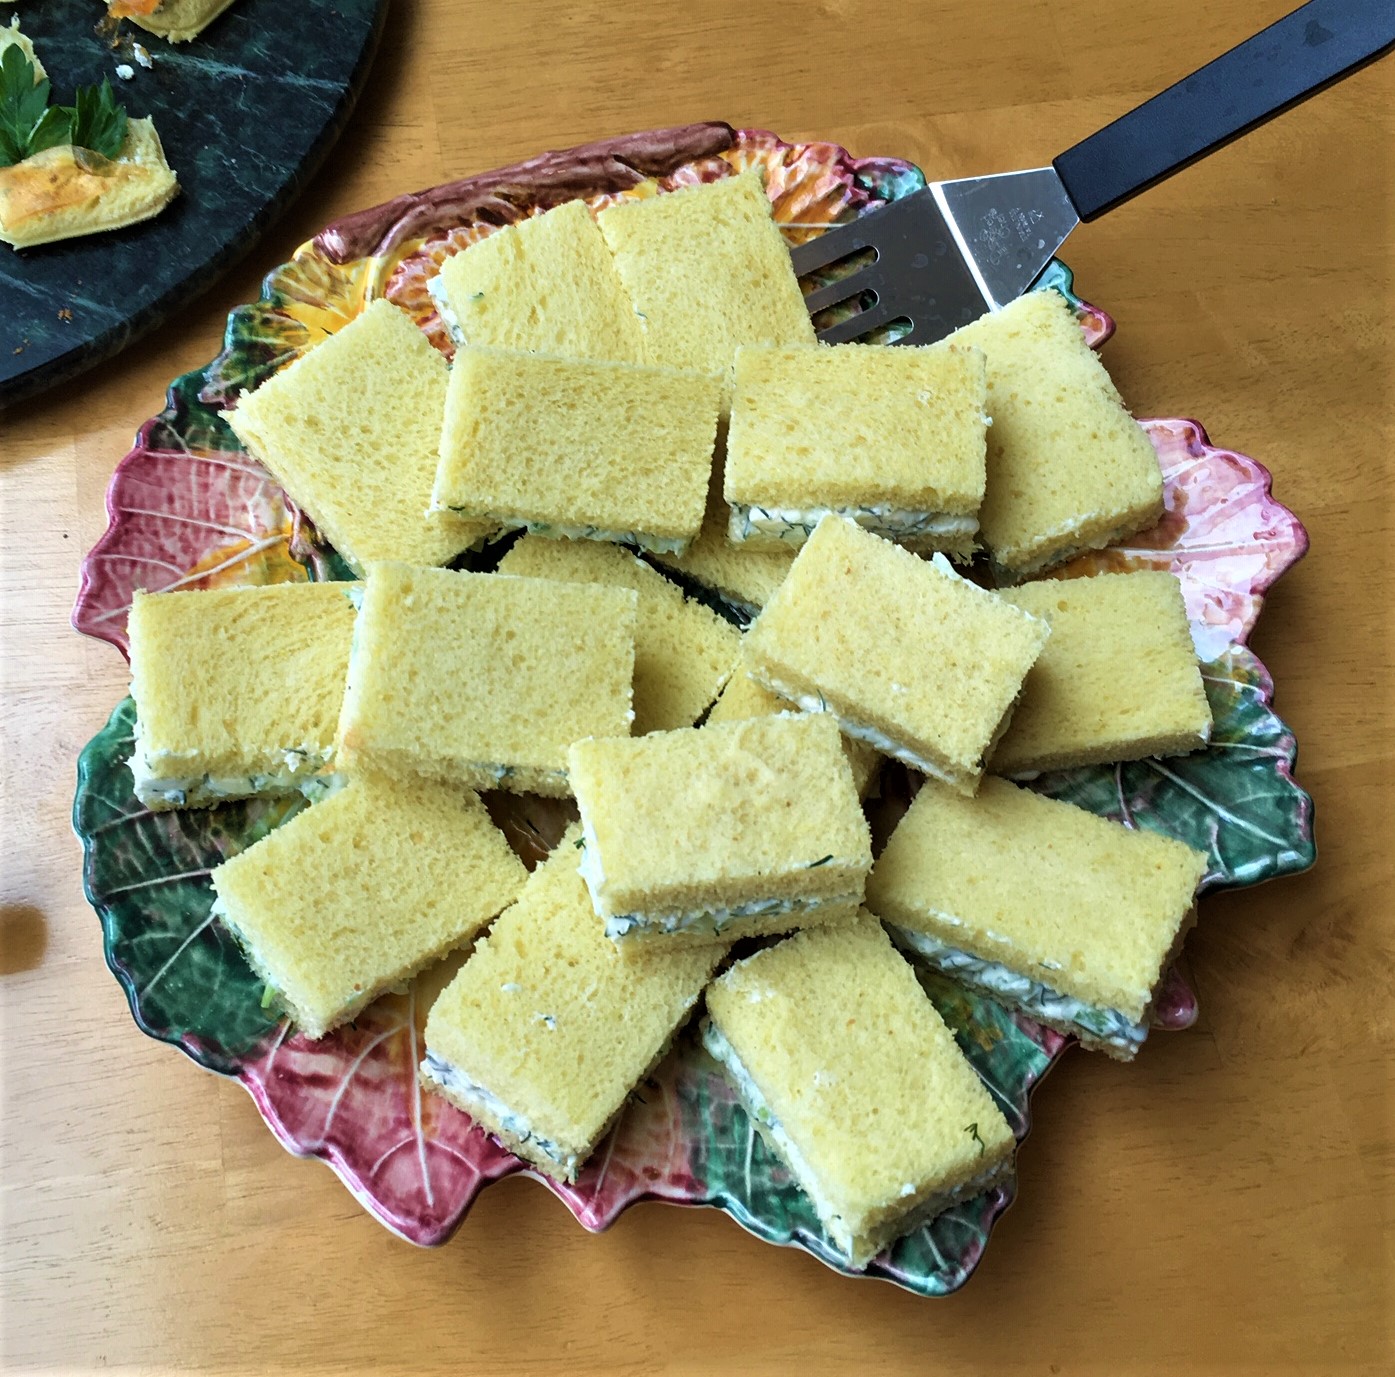
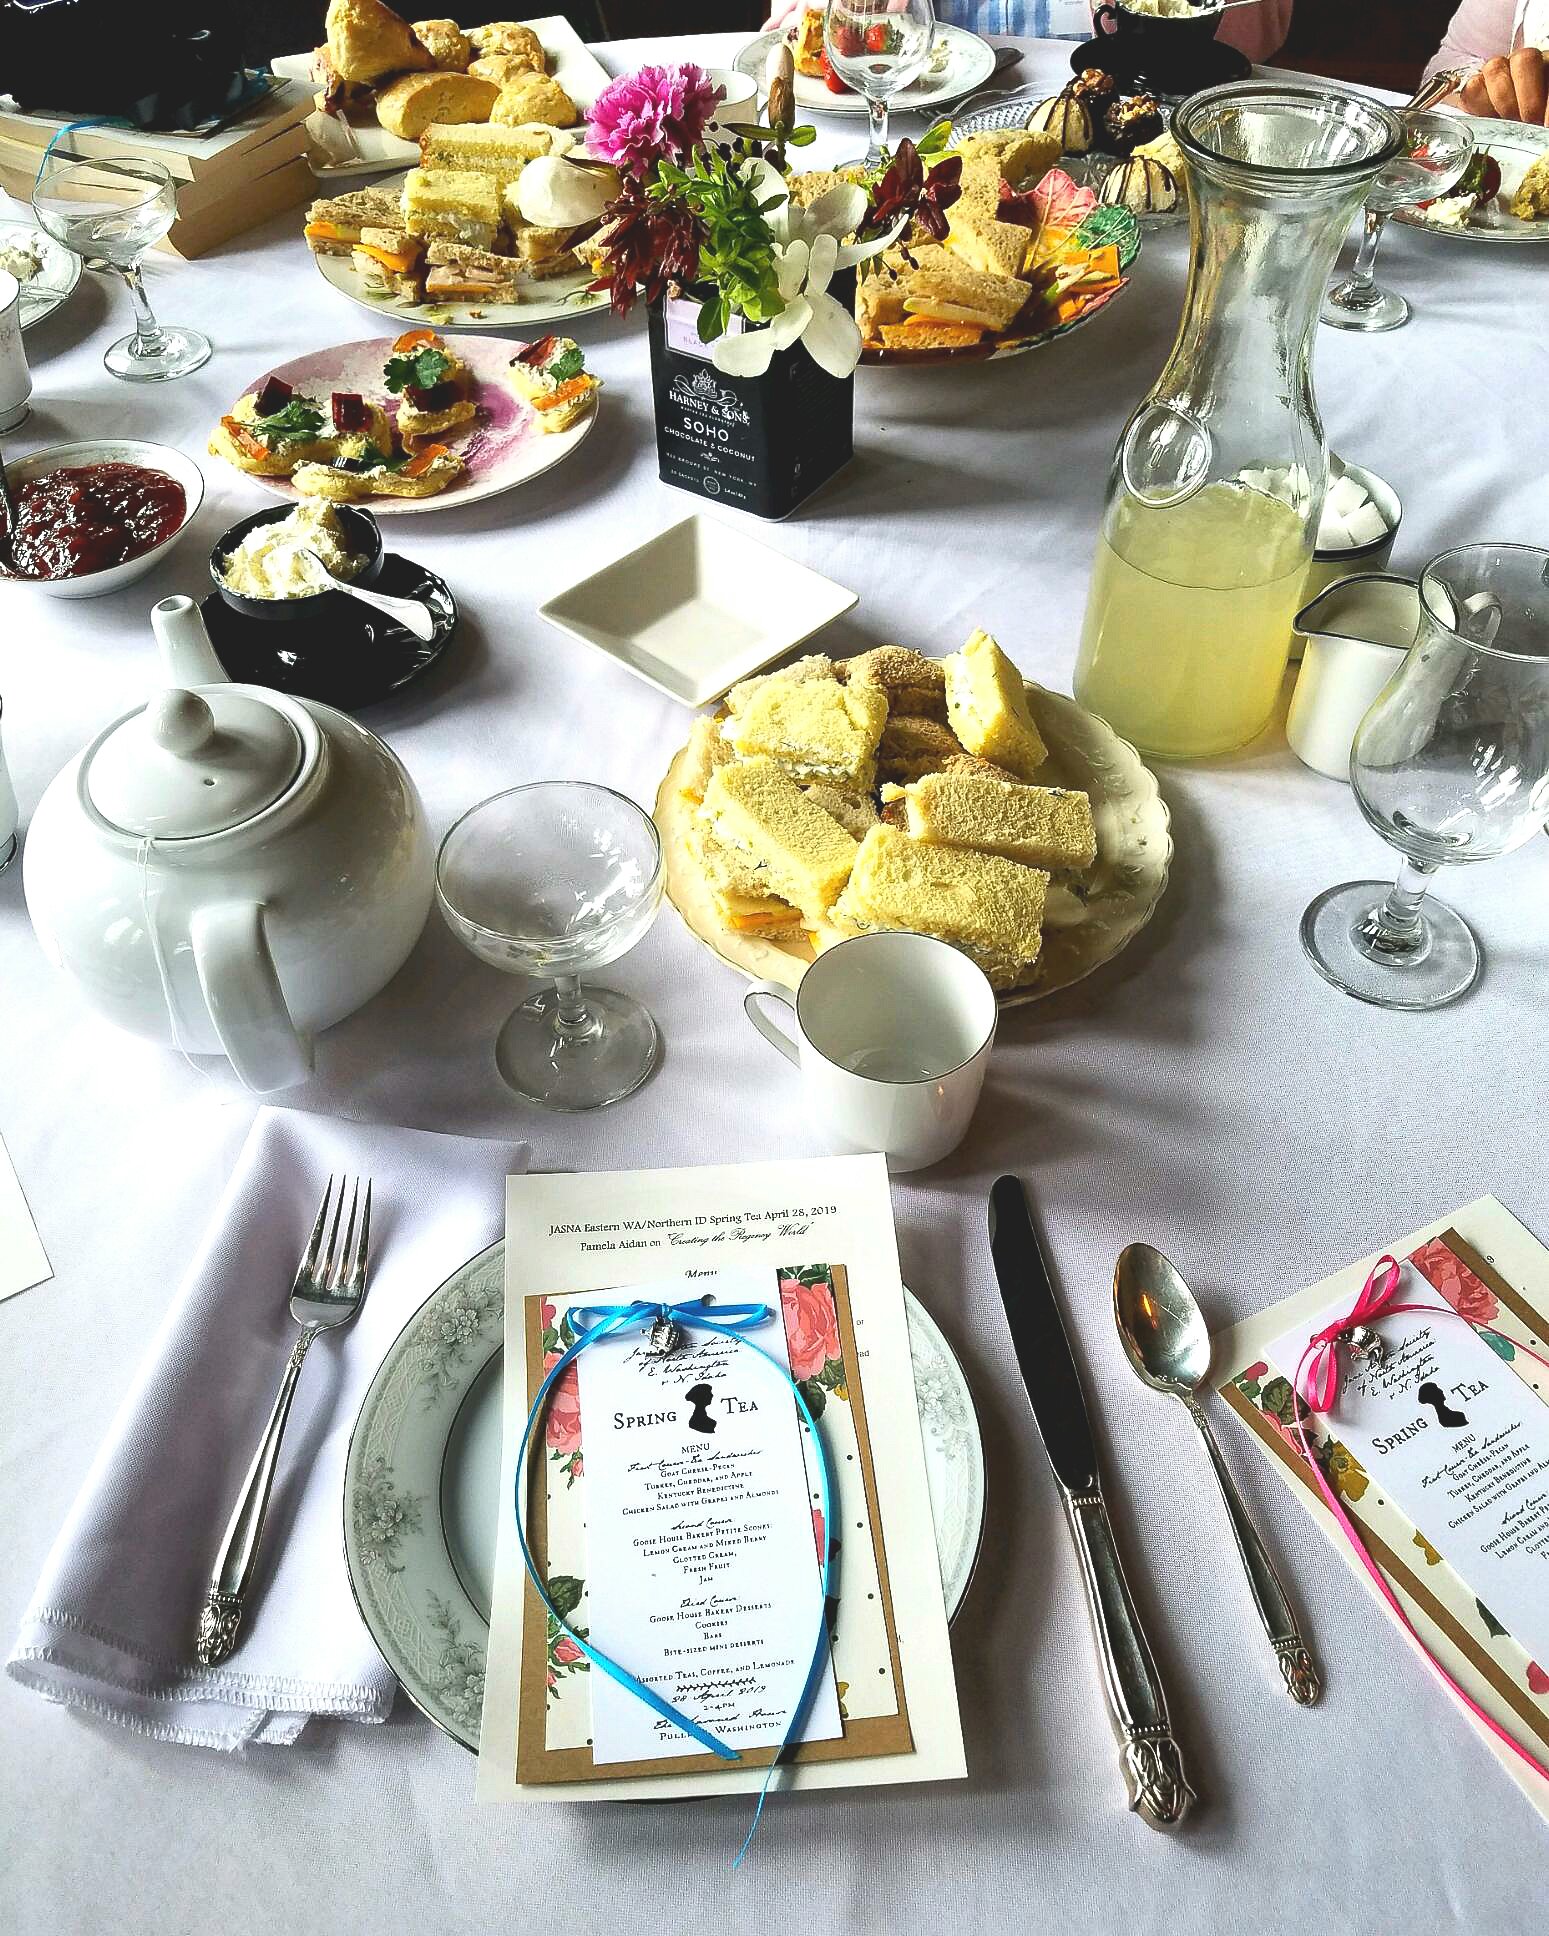
None of these projects took great sewing skills. I especially liked the ease of using a blouse for the top of the over-dress. Other than using the Simplicity pattern for the bottom of the over-dress, I eye-balled the other measurements, such as when creating the mob cap. Basting before cutting really helps. It was fun to create a full outfit for the Spring Tea (although I did not have time to make a reticule). Several other members came in outfits that they had sewn too. You can see more pictures in https://jasnaewanid.org/photos-of-past-events/. Wishing you happy sewing! Michele


 .
.